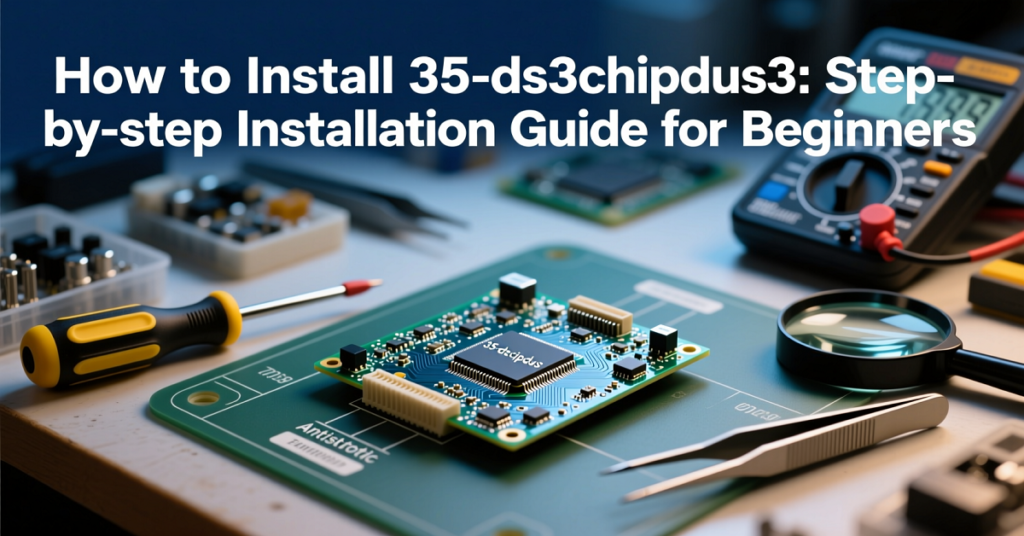
Are you looking to enhance your electronics projects with the 35-ds3chipdus3? In this guide on how to install 35-ds3chipdus3, we’ll explore this advanced digital interface signal chip, which is a powerful component for communication control and signal processing in embedded systems. Whether you’re a seasoned technician or a curious hobbyist, installing the 35-ds3chipdus3 can significantly improve your device’s performance. We will walk you through the installation process step-by-step, ensuring you feel confident and equipped to tackle the job.
Understanding the 35-ds3chipdus3

What is the 35-ds3chipdus3?
The 35-ds3chipdus3 is a highly regarded digital interface signal chip released in 2023 by DS3 Technologies Inc. This chip plays a crucial role in modern computing and embedded systems by facilitating high-speed data processing and stable communication between various system modules.
Key Features and Benefits
- High-Speed Data Processing: The chip ensures rapid information exchange within your device, essential for demanding applications.
- Versatile Compatibility: It is compatible with various devices, including embedded boards, PCs, and IoT systems, making it an ideal addition to your tech projects.
- Robust Stability: It ensures reliable communication control, reducing the chances of data loss or miscommunication.
Real-World Applications
The 35-ds3chipdus3 can be found in numerous applications, including:
- Robotics: Enabling seamless communication between sensors and controls.
- Smart Home Devices: Providing efficient data handling for connected devices.
- Industrial Automation: Assisting in real-time data processing for machinery.
Pre-Installation Preparation
Before diving into the installation, proper preparation is essential to ensure a smooth process.
Gathering the Right Tools
Before you learn how to install the 35-ds3chipdus3, ensure you have the necessary tools at hand:
| Tool | Purpose |
|---|---|
| Soldering Iron | For soldering connections |
| Antistatic Wrist Strap | To prevent static electricity damage |
| Screwdriver | To open and close device enclosures |
| Tweezers | For precise manipulation of small components |
| Cleaning Brush | To maintain a clean working area |
| Isopropyl Alcohol | For cleaning surfaces and components |
| Official Datasheet | For reference on chip specifications |
Recommended Retailers
You can find some of these tools at:
- Mouser Electronics
- Digi-Key
- Amazon
Setting Up a Safe Workspace
Creating a safe and effective environment is crucial. Follow these tips:
- Clean Surface: Ensure your workspace is clutter-free.
- Static-Free Environment: Use an antistatic mat and wrist strap to avoid damaging sensitive components.
Understanding the Installation Types
Familiarize yourself with the two main installation methods for the 35-ds3chipdus3:
- Socket Installation: Ideal for reusing chips or components.
- Soldering Installation: A more permanent method, requiring careful handling.
Step-by-Step Installation Guide
Now that you’re prepared, let’s go through the installation process in detail.
Step 1: Power Down the System
Before starting, it’s crucial to ensure that the system is completely powered off. Follow these steps:
- Remove any external power sources, including batteries.
- Discharge any static electricity from your body by touching a grounded metal object.
Step 2: Locate the Chip Area
Refer to your device’s hardware manual to find the correct socket or solder pad area for the chip. Mark the location clearly to avoid mistakes during installation.
Step 3: Orientation and Placement
Proper orientation is key for successful installation. Follow these guidelines:
- Match the Pin 1 marking on the 35-ds3chipdus3 with the corresponding pin on the board.
- Double-check the alignment to avoid misplacement. According to DS3 Technologies, misalignment can cause significant functional issues, including:
- Communication failures
- Overheating components
Step 4: Socket or Solder the Chip
Choose the installation method that suits your needs best.
Socket Method:
- Gently insert the chip into the socket, ensuring not to bend any pins.
Soldering Method:
- Heat your soldering iron to the appropriate temperature (around 350°C/662°F is often recommended).
- Carefully solder each pin with even spacing, ensuring no short circuits occur. According to Electronics Hub, achieving a perfect solder joint involves:
- Keeping the soldering iron in contact with the connection for just enough time to allow the solder to flow.
- Using the right amount of solder—too little won’t connect properly, while too much can cause short circuits.
Step 5: Inspect and Clean the Area
Once installed, take the following actions:
- Use a magnifying lens to inspect all connections for integrity.
- Clean the area with isopropyl alcohol to remove any excess flux and ensure optimal electrical performance.
Step 6: Reassemble and Test
After everything is clean and inspected, it’s time to reassemble your device:
- Carefully reconnect all components.
- Boot the system up and watch for successful power-up signs such as LED indicators or display activation.
Step 7: Verify Functionality of the Chip
To ensure your device operates correctly:
- Download and install diagnostic software to verify the chip’s functionality.
- Conduct tests to confirm that data processing speeds and communication stability meet expectations.
Why Correct Installation Matters
Impact on Device Performance
Correct installation of the 35-ds3chipdus3 not only safeguards your device but also ensures it performs optimally. As noted by IEEE Spectrum, improper installations can lead to:
- System instability
- Increased likelihood of component failure
- Delayed data processing
Avoiding Costly Errors
Understanding installation protocols is vital to prevent costly mistakes:
- Misalignment: Can lead to communication failures.
- Cold Solder Joints: These occur when solder fails to make a solid connection, severely impacting chip performance.
Tips for a Smooth Installation
Best Practices
Follow these tips for a hassle-free installation experience:
- Review the Official Datasheet: Familiarize yourself with specifications and recommendations before beginning.
- Practice on Scrap Boards: If you’re new to electronics, practicing your soldering technique can boost your confidence.
Common Pitfalls
Be aware of frequent problems during installation:
- Bent Pins: Watch for this when inserting the chip.
- Static Electricity Damage: Always ensure that you are grounded while handling electronic components.
Resources for Further Learning

Official Documentation
For more in-depth instructions and specifications, refer to:
- 35-ds3chipdus3 Datasheet
Online Tutorials and Communities
Enhance your understanding by exploring resources such as:
- YouTube: Look for installation tutorial videos.
- Forums: Join communities like Electronics Stack Exchange for discussions and advice.
FAQs About Installing the 35-ds3chipdus3
Q1: How long does it take to install the 35-ds3chipdus3?
A: Installation time can vary. A professional might complete it in under 15 minutes, while a beginner could take up to an hour.
Q2: Can I damage the chip during installation?
A: Yes, mishandling can damage the chip. Always wear antistatic protection and follow the installation steps accurately.
Q3: Is it okay to reuse the chip after desoldering?
A: It’s possible, but repeated heat exposure can degrade the chip. Reusing is not recommended unless necessary.
Q4: Does every motherboard support the 35-ds3chipdus3?
A: No, ensure compatibility with your board using the datasheet or manufacturer specifications.
Q5: What’s the best way to learn how to install the 35-ds3chipdus3 for the first time?
A: Start with practice boards, watch tutorials, and read the official installation manual in conjunction with this guide.
Conclusion: How to Install 35-ds3chipdus3
Now that you’ve read through this comprehensive guide, you should feel confident in your ability to install the 35-ds3chipdus3 successfully. From understanding the chip’s purpose to securing it properly in your system, each step is crucial for achieving a functional and efficient device. Remember to double-check your work and take your time during the installation process—your dedication will pay off with a smooth-operating chip upgrade.

Jennifer Smith is a passionate technology enthusiast with a deep focus on the digital landscape of the Philippines. With years of experience in the telecommunications and networking industry, she brings expert knowledge and practical insights to her writing. As the driving force behind Sim GuidesPh, Jennifer is dedicated to helping readers understand the complexities of the Philippine network landscape. Whether it’s exploring mobile networks, internet service providers, or the latest technological trends, Jennifer’s detailed guides aim to keep Filipinos informed and connected in an ever-changing digital world.